Directive Blogs
The Ultimate Guide to Keep Your Website ADA Compliant

A few months ago, the Department of Justice (finally) updated their guidelines for web accessibility. In this blog, we’re going to walk through how to keep your website compliant as you make changes to it and add new content. This particular guide will cover WordPress and Joomla websites.
What’s The Deal with ADA Compliance?
We covered this in a previous blog, but in short, ADA compliance for websites revolves around making your website as accessible as possible for people with disabilities. This includes users with visual impairments, disabilities that affect their motor capabilities, dyslexia, epilepsy, and other cognitive impairments, and a whole slew of other things that most of us don’t tend to think about on a daily basis.
Unfortunately, the Department of Justice hasn’t done a very good job at coming up with official standards for website accessibility compliance, which means there are a lot of ways to interpret the law and a lot of lawyers itching to get accessibility cases into the courts for an extra buck. With ADA-related lawsuits increasing each year, it’s definitely something that businesses need to be aware of.
Our stance is that web accessibility is an important thing to think about, and that everyone should be able to access the internet and come to a website without feeling discriminated against or experiencing discomfort.
Is My Website ADA Compliant? How Can I Tell?
Chances are, if we built your website over the last year or so, it’s probably pretty close to what the DoJ considers ADA compliant. Keep in mind that the DoJ doesn’t have hard and firm rules, and that there are always going to be ways to make your website easier to use and navigate. Again, you’ll want to reference our previous blog on website accessibility to get a better understanding of that. If you are concerned, we recommend you reach out to us. If your organization needs to meet specific levels of accessibility, that will likely require a deeper dive and a full audit to make sure you are meeting those standards. Schools, government organizations, and other public entities do have additional guidelines that we can help you meet, and we can also help businesses take their web presence to the next level if you want to ensure you are following these more rigid standards as well. If we built your website in the first place, chances are pretty good that you don’t have to go too far, provided that you’ve been following some of these standards.
The Goal of This ADA Compliance Guide
The following guide isn’t designed to take a website that isn’t at all compliant and turn it into a fully-compliant website. The purpose of this will be to make sure that, when you are making adjustments to your website or adding new pages, you are doing so in a way that keeps you in compliance as best as possible.
Accessibility covers such a wide range of elements, that we can’t really put all of that responsibility on a typical non-technical user who just updates their site content from time to time. The overall design, code, and layout of the website needs to be considered as well, and for that, we recommend reaching out to us.
How to Maintain ADA (Web Accessibility) Compliance
Accessibility is actually pretty easy to maintain for most websites on a day-to-day level. Assuming that most typical website updates might include creating a new page, publishing a blog post, adding a product or event, or adjusting content and images that are already there, most users shouldn’t have much of a problem following some basic best practices to ensure that visitors will have an easy time using your website.
Follow these guidelines whenever you are creating a new page or other element on your site:
- Build a Clear Content Hierarchy
- Provide Alternative Text for Images
- Ensure that Video Content is Accessible
- Make Hyperlink Text Meaningful
- Make Sure Your Content is Easy to Read
Build a Clear Content Hierarchy
This isn’t just important for ADA—it makes your website easier to read for everyone.
Notice in this particular blog post, that we’ve used headings to break up some of the text? For example, at the top, we have the main title of the blog post, “How to Keep Your Website ADA Compliant” and then we broke it up into a few smaller sections, such as “What’s the Deal with ADA Compliance” and “How to Maintain ADA (Web Accessibility) Compliance.”
But notice the heading under “How to Maintain ADA (Web Accessibility) Compliance,” where it says “Clear Content Hierarchy.” It’s pretty clear to you that “Clear Content Hierarchy” is a subsection of “How to Maintain…,” right?
That’s Content Hierarchy.
It’s about breaking up your content into sizable chunks and keeping it organized. When you dig deeper into a chunk of content, you can break that chunk down into smaller sections, and so forth.
Want another example? Just check out any good Wikipedia article to see this in action.
This is done using Headings. Headings are standard HTML markup that is built into most modern sites. Most websites clearly design their headings so the top heading is the largest, most boldest style, and subsequent headings get smaller.
Heading 1 is considered the main title of the page. That’s the biggest and boldest—if your webpage were a newspaper article, it would be the headline.
Most pages should have a single Heading 1. Heading 1 is represented by an H1 in the code. You don’t want more than one Heading1 per page, as that can confuse accessibility tools (and the search engines).
As you write your page content, consider breaking it up with Heading 2s. Heading 2 is represented by an H2 in the code.
If a section of content under the Heading 2 can be broken down more, use Heading 3, and so forth. Keep in mind, you have to use the actual headings; changing the font size or making things bold doesn’t accomplish this.
It’s important to remember to only use Headings in their natural order. Don’t skip Heading 3 and go right to Heading 4, and don’t use a Heading 3 if you haven’t used a Heading 2 above it.
Using Headings in WordPress
As long as your WordPress website is built correctly, your Page and Post Titles should automatically have the Heading 1 tag. Your titles should be clear and concise and read well, and you should be good.
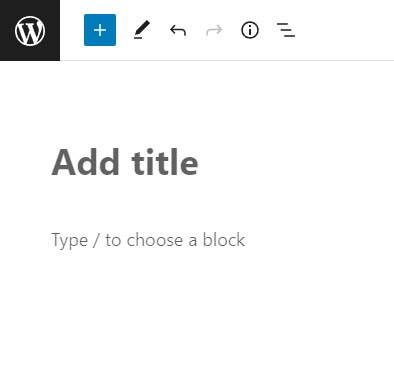
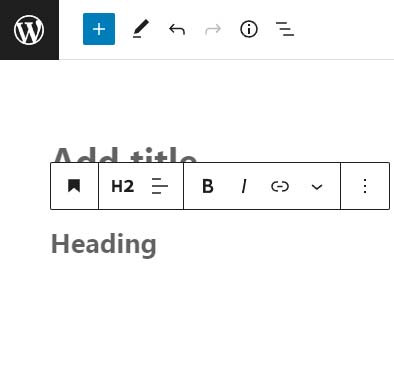
If you are using WordPress’s Block Editor (shown in the screenshot above), adding additional headings is easy. Where it says “Type / to choose a block,” type /h and choose Heading from the list. Typically WordPress will default to a Heading 2 (H2), but you can change it as needed from the options that appear.
Adding a Heading 1 in Joomla
There are a few ways Joomla can be configured to handle Heading 1s. It’s worth checking with whoever built it, or the template provider, but generally your Heading 1 is controlled by the Menu Item. The other headings are controlled in the Article.
How to Add a Heading 1 to a Joomla Page:
In Joomla, an article is just a piece of content that you load onto the page. The page itself is the menu item. You don’t have a static page on your Joomla site in most cases until you’ve created the menu item.
- If you haven’t created the Menu Item for the page yet, you can do so under the Menus menu. Choose the menu you want to put the page on and click New.
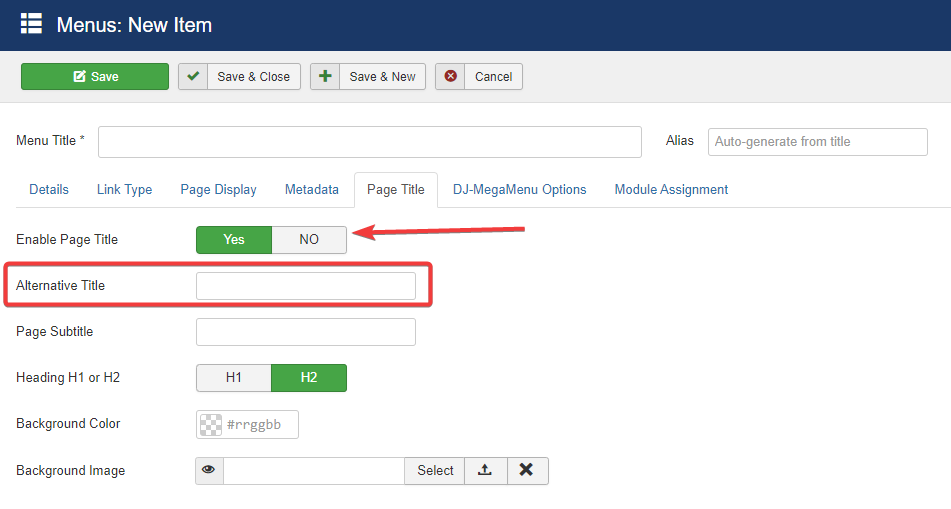
- On the Page Title tab of your Menu Item, set Enable Page Title to Yes.
- Put your Heading 1 text in the Alternative Title field.
Managing Your Other Headings in Joomla
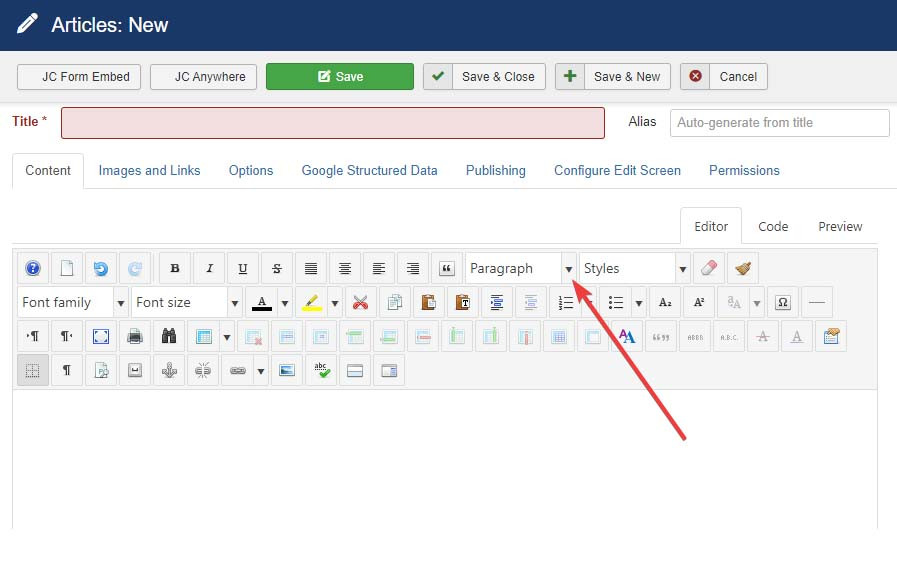
If you are using the Joomla Content Editor (JCE), which is the default editor we set up on all of the sites that we build, then adding headers is as easy as clicking the Format dropdown (shown in the screenshot below). By default, this dropdown is set to Paragraph, which is the style for the standard body text of your website. You can choose different Heading styles from the list.
Adding a Heading 1 to your Blog Posts
If you are using Easyblog in Joomla for your blog posts (we use Easyblog on all of the Joomla sites we build), managing the Heading 1 for each post is easy. The Blog Post Title is the Heading 1 by default. Easy peasy!
Here’s a Quick Breakdown of How to Use Headings in Joomla
- Heading 1s are handled on the menu item, and should not be manually added within the article (there should only be one per page).
- Heading 2s can be used to break up your content into smaller sections.
- Don’t use Heading 3s unless you are breaking up a Heading 2 into smaller subsections.
- Don’t use Heading 4s unless you are breaking up a Heading 3 into smaller subsections.
- You don’t have to use Headings 2, 3, 4, and beyond, but you should always have a Heading 1 on each page.
Provide Alternative Text for Images
If you were to build out a graphic that has text in it, that text is essentially not legible to a computer unless it has very advanced, specialized software that can look at the image like a human eye and observe the shapes and understand that they form letters and words.
That means if you upload a graphic that has text on it, such as a logo or banner, the typical screen reader that a visually impaired user might use to navigate your website probably can’t read it.
On top of that, if a user has their browser set up to not display images for whatever reason, then the images will typically display as a blank empty box.
This is where Alternative Text comes in. Alternative text will be displayed in lieu of any images that aren’t displaying. This is especially important if the images represent some form of content, like a call to action or clickable icons.
It’s worth noting that not all images need alt text. Images that are considered “decorative” such as background images or design accents should have a blank alternative text. During the normal day-to-day upkeep of your website, you probably aren’t going to be adding images that fall under this category though. It’s worth mentioning, as some SEO and ADA reporting tools can’t tell the difference and will report an image with a blank alt text even if that is how it should be.
When in doubt, consult the official guide on alternative text.
Adding Alternate Text to an Image in WordPress
When uploading images through the WordPress Media Library, it’s easy to simply apply alternate text after you’ve uploaded the image.
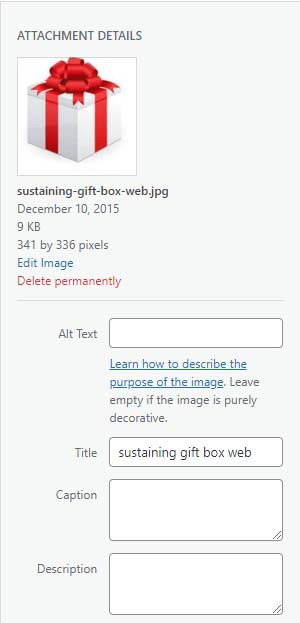
The Alt Text field is on the right.
It’s also worth noting that the other fields can be useful too. The Title field will generally display text when you hover over the image
The Caption field will generally display the text under the image (although that will depend on your WordPress theme and how your site is designed and styled).
The Description field only tends to display on the image attachment page—for most sites it isn’t relevant.
Adding Alternate Text to an Image in Joomla
When uploading images through the Image Manager in Joomla, the Alternate Text field is right at the top of the Image Manager.
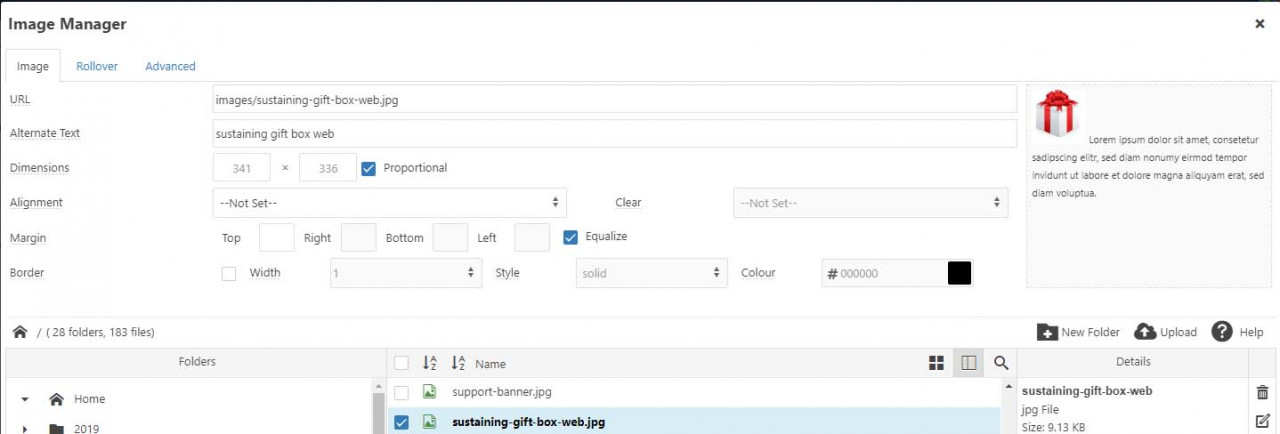
Please note that Joomla will automatically attempt to take the file name and put it in the alt text field. If your file names are decent, this can work out to your advantage, but it’s still important to review and make sure that your alternate text is relevant.
Ensure That Video Content is Accessible
This might take additional planning, but making sure your video content is accessible to all types of users is important.
Displaying information within your video in the form of charts, graphs, and text should have corresponding on-page content describing that information. Captions or subtitles should be applied. Fortunately, if you upload videos to YouTube, you can enable automatic captions that YouTube generates automatically.
Providing text transcripts is a good idea when captions or subtitles aren’t an option.
We always recommend using YouTube for your website’s videos.
Make Hyperlink Text Meaningful
Sometimes, within your content, you’ll want to provide a link to give the user the ability to go somewhere else on your website or somewhere else on the web in general.
For example, if I wanted to send you over to the Web Accessibility Initiative’s guide on Writing for Web Accessibility, I’d do so like this:
If you want to learn more, check out the Web Accessibility Initiative’s guide on Writing for Web Accessibility.
Notice how the subject of the destination is clearly outlined in my link text? That’s much more clear than having the link text say something like “click here.”
Make Sure Your Content is Easy to Read
When it comes to good website copy, it’s important to understand your audience and build content that is easy for them to read and comprehend. That includes using language and words that your audience will recognize, and breaking up your content into smaller paragraphs.
Avoid the “wall of encyclopedia text” phenomenon. When you present a user a huge page of text, it can be intimidating. It’s also more difficult to read than it has to be, even for someone who doesn’t have any form of disability.
Breaking up your content into smaller, bite-sized paragraphs, and keeping your writing organized will go a long way when it comes to readability. I’d imagine if we didn’t break this blog up into smaller paragraphs, you wouldn’t have gotten this far into it.
Avoid jargon when possible, or always make sure you define terms that might not make sense to your audience. The same goes for acronyms. The first time you use one on a page, make sure you define it.
Let’s Make the Internet More Accessible to Everyone
These are just a few examples of things you can do to provide a better user experience on your website for all types of people. Keep in mind that this isn’t everything though. If your website is a little older, it’s likely that it doesn’t follow all of the best practices and ADA compliance guidelines.
We can help you make your website meet ADA compliance standards, as well as set up automated tools to ensure that your website remains compliant. You’ve probably noticed the little Accessibility icon on the bottom-left corner of our website?
This tool makes it so much easier for a person with disabilities to have a pleasant experience on your website. If you’d like to set this up for your website, or discuss ADA compliance, give us a call at 607-433-2200 today.
About the author
Comments
![]()