Directive Blogs
Tip of the Week: Sync OneDrive with Windows 10

Microsoft OneDrive is a tool that many organizations take advantage of for cloud-based file sharing and real-time access, but did you know that it can sync files to your desktop? OneDrive is often used to save Word, Excel, PowerPoint, and OneNote documents, so being able to access them on your Windows 10 device only makes it easier and more efficient to work on them. We’re going to walk you through how to set up this syncing. You can trust us when we say it could change your work life for the better.
OneDrive comes preinstalled on Windows 10 devices and is integrated with the file explorer system that we all know and love, making file security and syncing a piece of cake. With drag-and-drop functionality, a user can sync files simply by moving a file or folder to the OneDrive folder of your PC. The same can be said in reverse, though it’s true that some people might not want their entire OneDrive folder available on their computer at any given time. Microsoft has developed OneDrive to respect these wishes, giving users the ability to designate the files synced with Windows 10.
Here’s how:
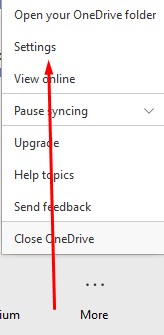
- Select the white (or blue) OneDrive cloud icon in the Windows taskbar notification area:

- It will open a pop-up screen. In this screen select More > Settings.
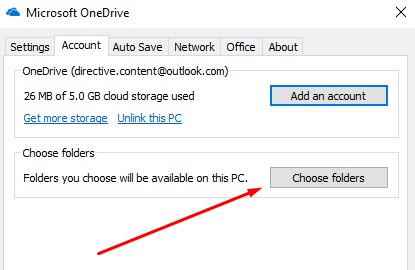
- Select the Account tab, and select Choose folders
- You have to make sure the “Make all files available” box is toggled off:
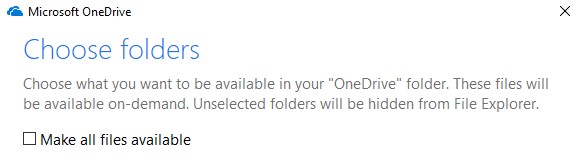
You should now be able to select all the files you want to see. Press OK to start syncing your files with Windows 10.
For more great tips and tricks, be sure to consult Directive’s expertise. You can reach out to us at 607-433-2200.
About the author
![]()

Comments